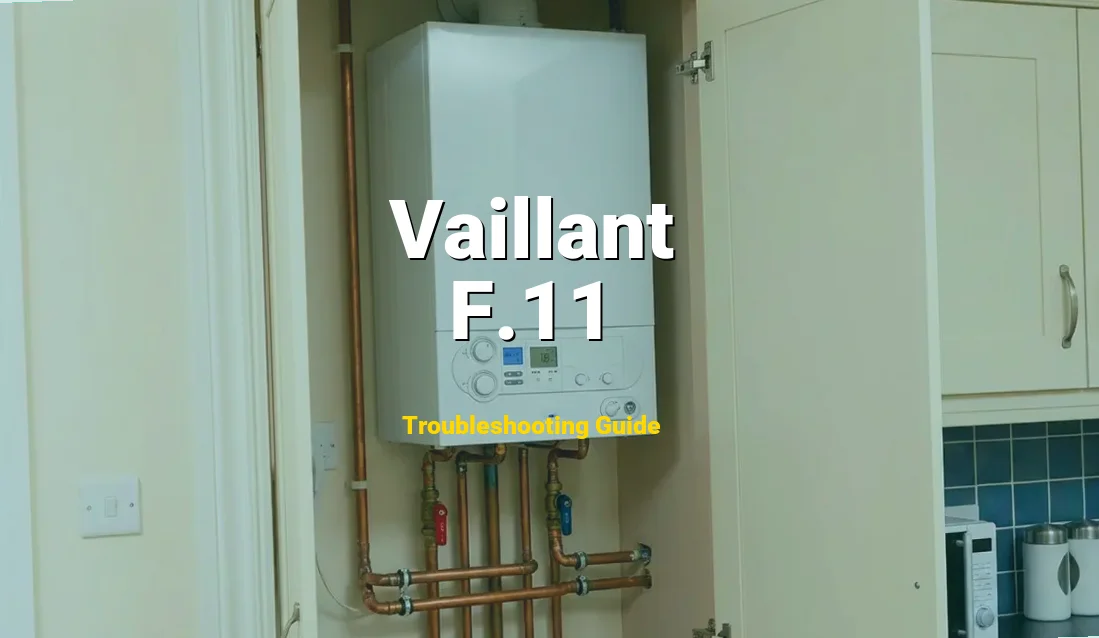
If you are seeing this code, your boiler has likely entered a safety lockout mode. You might be experiencing a complete lack of central heating, lukewarm tap water, or a boiler that starts for a few seconds before abruptly shutting down with a flashing red light. While this sounds daunting, it is a common diagnostic signal that points to a specific electrical fault. With the right technical approach, this is entirely fixable, but it requires strict adherence to safety protocols to avoid electrical hazards or damage to the boiler’s sensitive internal components.
Symptoms of Error F.11
As a Safety Compliance Officer, I must emphasize that a boiler displaying F.11 is telling you that its internal “thermometer” is broken. You should look for the following physical and operational signs:
⚠️ Warning: Check Manual First
Working with electricity is dangerous. We strongly recommend downloading the official guide.
- The Control Panel Lockout: The digital display will persistently flash “F.11,” and the status LED will likely turn red or amber, indicating the appliance has ceased operation for safety reasons.
- Inconsistent Water Temperatures: If the boiler manages to fire briefly, the water may be dangerously hot or barely tepid because the PCB cannot regulate the flame based on the return water temperature.
- Short Cycling: You may hear the pump and fan engage, only for the unit to shut down within 10 to 30 seconds. This is the “brain” realizing it has no feedback from the return sensor and killing the ignition sequence.
- Physical Moisture: In some cases, you may notice small drips near the pipework under the boiler. Moisture is a leading cause of the short circuits that trigger this specific error.
The Complete Solution
The Complete Solution: Step-by-Step Fix
MANDATORY SAFETY WARNING: Before proceeding, you must isolate the boiler from the mains electricity. Gas appliances should only be opened by qualified personnel. If you smell gas or see scorched components, stop immediately and call a Gas Safe registered engineer.
- Electrical Isolation and Verification: Turn off the boiler at the fused spur (the switch on the wall). Use a non-contact voltage tester to ensure there is no power reaching the unit. Working on a live boiler can result in fatal electric shock or the destruction of the PCB.
- Accessing the Internal Components: Use a Phillips head screwdriver to remove the screws at the bottom of the front casing. Carefully lift the panel upwards and off the hooks. Locate the control box and swing it down (if applicable to your Vaillant model) to gain access to the pipework and the PCB housing.
- Identifying the Return NTC Sensor: Locate the “Return” pipe (usually the pipe on the far right or second from right). The NTC sensor is a small plastic-clipped component with two wires attached to it, clipped directly onto the copper pipe.
- Testing with a Multimeter: Carefully pull the plastic wiring plug off the sensor. Set your multimeter to the Ohms (Ω) setting. Place the probes on the two metal pins of the sensor. At room temperature (approx. 20°C), you should see a reading of roughly 12k to 15k Ohms. If the meter reads 0 Ohms or very close to it (e.g., <500 Ohms), the sensor is shorted and **must be replaced**.
- Inspecting the Wiring Loom: If the sensor’s resistance is normal, inspect the wires leading back to the PCB. Look for any signs of blackening, melted plastic, or exposed copper. If the wires are damaged, they must be repaired with heat-shrink insulation or the entire loom replaced.
- Replacing the Sensor (If Faulty): Vaillant sensors are often “clip-on.” Simply unclip the old sensor from the pipe. Apply a small amount of thermal contact paste to the new sensor’s face to ensure accurate heat transfer. Clip the new sensor onto the pipe and reattach the wiring plug firmly.
- Reassembly and Reset: Replace the boiler casing. Restore power at the mains. Press and hold the “Reset” button (usually marked with a flame symbol with a cross through it) for five seconds. The boiler should perform a self-check and resume normal operation.
Quick Repair Specifications
| Technical Difficulty | Moderate to High (Requires electrical testing) |
| Estimated Time | 45 – 90 Minutes |
| Essential Tools | Digital Multimeter, Phillips #2 Screwdriver, Needle-nose Pliers |
| Estimated Cost | $15 – $150 (Component cost vs. Professional labor) |
Detailed Diagnosis: Root Causes
Understanding why the F.11 error occurs is critical for a permanent fix. We are dealing with a Negative Temperature Coefficient (NTC) thermistor. In these sensors, resistance decreases as temperature increases. A short circuit tells the boiler the resistance is effectively zero, which translates to an impossible temperature reading.
- Internal NTC Sensor Failure: Over years of constant thermal expansion and contraction, the internal ceramic element of the sensor can crack. This leads to an internal short circuit where the electrical path bypasses the resistive element entirely. This is usually due to standard wear and tear and the harsh environment of a heating system.
- Wiring Harness Degradation: The wires connecting the sensor to the Main PCB are often routed near hot copper pipes. If a wire vibrates against a sharp edge or touches a high-heat component, the insulation can melt or chafe. Once the copper core touches the boiler chassis (ground) or the adjacent wire, a short circuit occurs instantly.
- Moisture Ingress and Corrosion: A small leak from a pump seal or an auto-air vent can drip water directly onto the sensor plug. Water is conductive; it creates a bridge between the two terminals of the sensor, tricking the PCB into seeing a short circuit.
- PCB Terminal Fault: Although less common, the fault may not be the sensor at all. Voltage spikes or “dry joints” on the Printed Circuit Board itself can mimic a short circuit. If the sensor tests fine but the error persists, the electronic control logic has likely failed.
How to Prevent Error F.11
As a compliance officer, I advocate for proactive maintenance over reactive repairs. To ensure the F.11 error does not return, implement the following safeguards:
- Annual Professional Servicing: A qualified engineer will check sensor resistances and look for signs of “creeping” corrosion on electrical connectors that a layperson might miss. This is the single most effective way to prevent lockout errors.
- System Power Flush: Over time, magnetite (black sludge) builds up in the pipes. This sludge can coat the area around the sensor, causing it to overheat and fail prematurely. A system flush removes this debris and protects the integrity of the thermistors.
- Install a Surge Protector: Since the PCB is sensitive to voltage fluctuations, installing a surge-protected fused spur can prevent voltage spikes from damaging the NTC sensing circuits on the board.
Frequently Asked Questions
Q: Can I temporarily bypass the F.11 sensor to get heat?
A: ABSOLUTELY NOT. Bypassing a safety sensor is a violation of safety protocols and can lead to the boiler overheating, pipe ruptures, or fire. The F.11 error is a protective measure; bypassing it removes the “brakes” from your heating system.
Q: How much does a replacement Vaillant NTC sensor cost?
A: The part itself is relatively inexpensive, typically ranging between $15 and $30 (£10-£25). However, if you hire a professional, expect to pay for a call-out fee and labor, which usually totals between $100 and $200 depending on your location.
Q: Is F.11 the same as F.10?
A: No, but they are related. F.10 refers to a short circuit in the Flow temperature sensor (the water leaving the boiler), while F.11 refers to the Return temperature sensor (the water coming back). The diagnostic and repair steps are identical, but the location of the sensor is different.