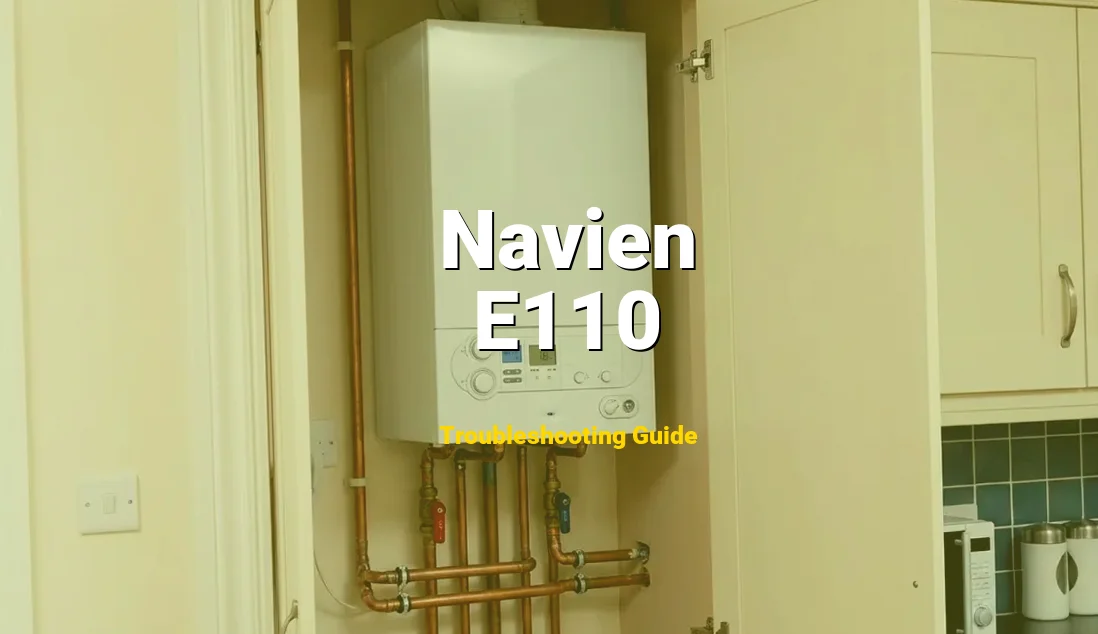
If your unit is displaying this code, you are likely experiencing a total loss of hot water, perhaps accompanied by the sound of the blower motor revving repeatedly without the “click” of ignition. You might also hear a whistling or straining sound from the unit. While this is a serious safety lockout designed to prevent carbon monoxide leakage, it is a fixable issue that often relates to simple obstructions or component wear. Proceed with caution and follow all safety protocols outlined below.
- Difficulty: Moderate – Requires basic electrical testing and mechanical disassembly.
- Estimated Time: 45 to 90 minutes of active troubleshooting.
- Tools Needed: Phillips Head #2 Screwdriver, Digital Multimeter, Canned Air or a Soft Brush, and a High-Lumen Flashlight.
- Estimated Cost: $0 (Cleaning/Adjustment) to $150 (Replacement Air Pressure Switch).
Symptoms of Navien Error E110
As a Safety Compliance Officer, I must emphasize that you should never ignore these physical signs. The most obvious symptom is the flashing E110 alphanumeric code on the front control panel. However, the mechanical symptoms are equally telling. You may hear the fan (combustion blower) kick on at a high RPM, but the burner fails to light, resulting in lukewarm or cold water at the tap.
⚡ Safety First: Read Before Repairing
Before unscrewing any panel, ensure you have the correct service manual for safety.
Furthermore, you might notice the unit attempting to “recycle” or restart three times before entering a hard lockout mode. In some cases, a vibrating or humming noise resonates through the venting pipes, indicating that the motor is struggling to push air through a restricted passage. If the air-to-gas ratio is significantly off, you may even smell a faint scent of unburned gas or see “searching” flames through the sight glass before the system shuts down for safety.
Technical Explanation of the Fault
To understand why your Navien unit has failed, you must understand the “Safety Chain.” The Air Pressure Switch is a watchdog; it ensures the environment is safe for fire. When this chain is broken, the system halts immediately. Here are the primary technical causes:
- Intake or Exhaust Obstruction: This is the most common failure point. External factors such as bird nests, heavy frost/ice buildup, or even spider webs in the intake mesh can restrict airflow. When the blower cannot move the required CFM (Cubic Feet per Minute) of air, the pressure differential fails to trip the switch, triggering E110.
- Air Pressure Switch (APS) Diaphragm Failure: Inside the switch is a sensitive silicone diaphragm. Over years of operation, the constant expansion and contraction can lead to microscopic tears or “stiffening” of the material. If the diaphragm cannot move, the electrical contacts won’t close, even if the airflow is actually sufficient.
- Blower Motor Carbon Accumulation: The combustion fan operates at high speeds. Over time, dust and debris can coat the fan blades (the “squirrel cage”), reducing its aerodynamic efficiency. This mechanical “drag” prevents the fan from reaching the specific static pressure required to satisfy the APS.
- Condensate Backup: Navien units are high-efficiency condensing heaters. If the condensate trap is clogged with sediment or “gunk,” the water can back up into the heat exchanger or the air pressure sensing tubes. Water in these tubes creates an “unbalanced” pressure reading, causing the computer to misinterpret the airflow as abnormal.
Comprehensive Repair Guide
MANDATORY SAFETY PROTOCOL: Before touching any internal component, you must shut off the 120V power supply to the unit and close the yellow gas inlet valve. Failure to do so exposes you to lethal electrical shock and potential gas leaks. Do not skip these steps.
- External Vent Inspection: Begin outside your home. Locate the PVC or polypropylene intake and exhaust terminations. Use your flashlight to look deep into the pipes. Remove any leaves, bird nests, or ice. Even a partial 20% blockage can trigger an E110 error during high-wind conditions or high-fire operation.
- Clean the Intake Air Filter: Open the front cabinet by unscrewing the four Phillips screws at the corners. Inside the unit, usually on the top left or right, you will find a black plastic intake filter. Slide it out and inspect it. If it is coated in dust, wash it with lukewarm water, dry it completely, and re-install. A clogged filter starves the machine of oxygen.
- Inspect the Pressure Sensing Tubes: Locate the thin clear or colored silicone tubes connecting the Air Pressure Switch to the blower housing. SAFETY WARNING: Do not pull forcefully on these tubes. Remove them carefully and check for moisture or cracks. If water is present, blow them out with compressed air. If they are cracked or brittle, they must be replaced to maintain a vacuum seal.
- Test the Air Pressure Switch (Multimeter Required): Set your multimeter to the Ohms (Ω) or Continuity setting. With the power off, remove the two wire leads from the APS. Connect your probes to the terminals. While the fan is not running, the circuit should be “Open.” If you have a manometer, you can test the specific “make” pressure, but generally, if the switch stays open when the fan kicks on, the switch is defective and requires replacement.
- Clear the Venturi and Blower: Inspect the “Venturi” (the throat where air and gas mix). Use a soft brush to remove any lint or debris. If the blower wheel looks heavily soiled, it may need to be pulled and cleaned. A clean blower ensures the pressure differential is strong enough to snap the APS into the “closed” position.
How to Prevent Error E110
Prevention is the hallmark of safety compliance. To ensure your Navien water heater remains operational and safe, follow these maintenance mandates:
- Annual Intake Cleaning: Make it a habit to check your intake air filter every six months. In environments with high pet dander, lint (near dryer vents), or construction dust, this filter can clog rapidly. A clean filter reduces the workload on the blower motor, extending its lifespan.
- Install Vent Screens: If your exterior vents are open pipes, install manufacturer-approved bird screens. This prevents small animals and debris from entering the combustion chamber, which is a leading cause of E110 and more dangerous “Backfire” conditions.
- System Power Protection: Fluctuations in voltage can damage the sensitive logic board or the APS. Use a dedicated surge protector designed for tankless water heaters. This ensures the electrical signals sent to the air pressure sensors remain stable and free of “ghost” errors.
FAQ
Frequently Asked Questions
Q: Can I just bypass the Air Pressure Switch to get hot water temporarily?
A: ABSOLUTELY NOT. As a safety officer, I must warn you that bypassing a safety switch is a violation of fire codes and poses a severe risk of Carbon Monoxide poisoning or explosion. The switch is there to ensure that exhaust gases are being safely vented out of your home. If you bypass it, you are risking your life.
Q: Will resetting the unit fix an E110 error?
A: Only temporarily. Pressing the “Reset” button on the front panel may clear the code and allow the unit to fire once or twice, but if the underlying cause (blockage or failing part) isn’t addressed, the error will return. Repeatedly resetting the unit can cause premature wear on the igniter and blower motor.
Q: How do I know if the problem is the fan or the switch?
A: Observe the startup sequence. If you hear the fan spinning at a high, consistent speed but the error occurs anyway, the problem is likely the switch or a blockage. If the fan sounds “labored,” “clunky,” or doesn’t spin at all, the blower motor or the PCB (Main Board) is the likely culprit.