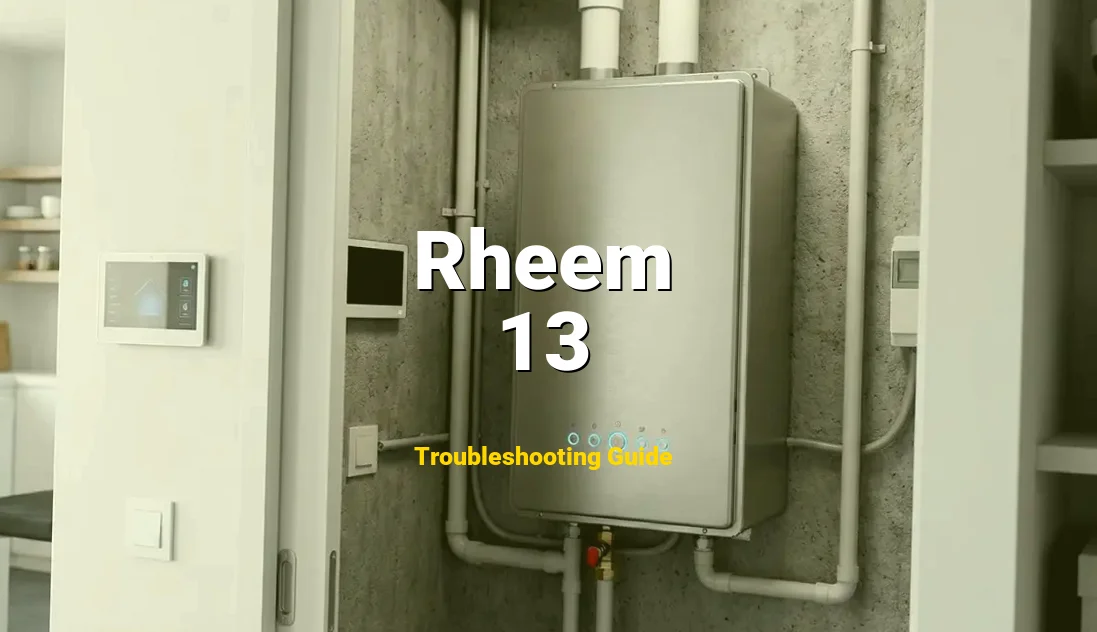
Rheem Error Code 13 indicates a “Combustion Abnormality” or “Flame Failure” during the operation of your tankless water heater. This specific diagnostic code is triggered when the integrated printed circuit board (PCB) detects that the flame signal has been lost or has become unstable after the initial ignition sequence was successfully completed. Essentially, the unit started the heating process, but the safety sensors determined the combustion was too dangerous or inefficient to continue.
📖 Pro Tip: Verify Technical Specs
For your safety and to avoid voiding the warranty, please check the official docs.
As a user, you are likely experiencing a sudden transition from hot to freezing cold water mid-shower, or perhaps the unit refuses to provide hot water at all. You might hear the internal blower motor engaging and the igniter clicking, followed by a sudden shutdown and the flashing “13” on your digital remote. While this can be frustrating, as a Senior Engineer, I can assure you that this is a protective measure designed to prevent gas buildup or internal damage. With a systematic approach, we can diagnose and resolve this issue efficiently.
Symptoms of Rheem Error 13
- The “Cold Water Sandwich”: You receive hot water for a minute or two, followed by a total loss of temperature as the unit locks out.
- Visual Error Display: The digital monitor or the remote control panel flashes a persistent “13” code, often accompanied by an audible beep.
- Audible Combustion Struggle: You may hear the unit attempting to ignite multiple times (rapid clicking), or you might hear a low “thumping” or “booming” sound, which indicates delayed ignition or an unstable air-fuel mixture.
- Blower Run-on: After the unit fails to maintain flame, the internal fan (combustion blower) may run at high speed for several minutes to purge unburnt gas from the chamber.
- Lukewarm Output: In some cases of partial sensor failure, the unit may throttle down significantly, providing water that never reaches the setpoint before finally throwing the error code.
How to Fix Rheem Error 13 (Step-by-Step)
How to Fix Rheem Error 13 (Step-by-Step)
-
Safety First & Power Down:
Before touching any internal components, turn off the electrical power to the unit at the circuit breaker or by unplugging it. Shut off the gas supply valve located under the unit. WARNING: Working with gas and electricity carries inherent risks. If you smell gas at any point, exit the premises and call your gas provider immediately.
-
Remove the Front Cover:
Use your Phillips head screwdriver to remove the four screws located at the corners of the front panel. Carefully pull the panel toward you and set it aside. This will expose the combustion chamber, the blower motor, and the PCB. Locate the combustion chamber at the center-top of the unit; it is usually a sealed silver box.
-
Inspect and Clean the Flame Rod:
Look for a wire (usually yellow or orange) leading to a small ceramic-based rod inserted into the combustion chamber. This is the flame rod. Unscrew the mounting bracket and gently pull the rod out. If the metal tip looks white, black, or rusty, use fine-grit sandpaper or steel wool to lightly buff the metal until it is shiny. Do not use heavy pressure, as the rod is brittle. Wipe it clean with a dry cloth and reinstall it.
-
Check the Igniter Electrode:
Next to the flame rod is the igniter. Ensure the gap between the electrode and the burner is approximately 1/8th of an inch. If there is heavy carbon buildup here, it can cause a weak spark, leading to the “Abnormal Combustion” error. Clean it in the same manner as the flame rod.
-
Clear the Intake and Exhaust:
Go outside and inspect the termination points of your vent pipes. Ensure there are no leaves, insect nests, or snow blocking the airflow. Back inside the unit, check the intake filter (if equipped) and use compressed air to blow out any dust from the combustion blower fan blades. Proper airflow is critical for a stable flame.
-
Verify Gas Supply and Manometer Testing:
If cleaning the rods doesn’t work, the issue may be the gas pressure. Using a digital manometer, a technician should check the static and dynamic gas pressure. For Natural Gas, this is typically 5″ to 10.5″ W.C. If the pressure drops significantly when the unit tries to fire, your gas regulator or pipe sizing is likely the culprit.
-
Reassemble and Reset:
Replace the front cover and secure the screws. Turn the gas supply back on, then restore power. Open a hot water faucet to its maximum flow. The unit should attempt to ignite. If the code persists, the PCB may have a failed relay, requiring a board replacement.
| Metric | Specification |
|---|---|
| Difficulty Level | Intermediate (Requires electrical/gas safety knowledge) |
| Estimated Time | 45 – 90 Minutes |
| Tools Needed | Phillips Head Screwdriver (#2), Digital Multimeter, Fine Sandpaper (or Steel Wool), Compressed Air. |
| Estimated Cost | $0 (Cleaning) to $150 (Replacement Parts) |
What Triggers this Code?
What Triggers this Code?
From an engineering perspective, Error 13 is a failure in the “Flame Rectification” process. The unit uses a flame rod to detect the presence of fire. When the rod is engulfed in flame, it creates a small DC microamp current that tells the PCB it is safe to keep the gas valve open. If this signal drops below a specific threshold (typically 3-5 microamps), the system shuts down.
- Flame Rod Fouling: Over time, the combustion process leaves microscopic layers of carbon or “white silica” dust on the flame sensor. This creates an insulating layer that prevents the rod from “sensing” the flame, even if the burner is firing perfectly. This is the most common cause of Error 13.
- Inadequate Gas Pressure: If the gas supply is insufficient—due to a frozen regulator, an undersized gas line, or multiple gas appliances running simultaneously—the flame will be “weak” or “lazy,” causing the sensor to lose the signal.
- Venting Obstructions: Tankless units require a precise ratio of oxygen to gas. If the intake or exhaust vents are partially blocked by debris, bird nests, or heavy frost, the combustion becomes “rich,” leading to an unstable flame that the PCB rejects for safety.
- Electrical Grounding Issues: Since the flame rod relies on a minute electrical current, a poor ground connection to the unit’s chassis or a voltage spike can disrupt the signal, leading the PCB to believe the flame has vanished.
How to Prevent Error 13
To avoid future combustion failures and maximize the lifespan of your Rheem tankless water heater, follow these maintenance protocols:
- Annual Combustion Chamber Service: Every 12 months, have a technician (or yourself, if capable) vacuum out the burner tray and clean the flame rods. Preventing carbon buildup is much easier than diagnosing a lockout mid-winter.
- Install a Surge Protector: The PCB in Rheem units is highly sensitive to voltage fluctuations. A dedicated surge protector for the water heater can prevent “ghost” error codes caused by electrical noise or minor power surges that disrupt the flame signal.
- Monitor Venting Clearances: Ensure that landscaping (bushes, trees) does not grow over the vent terminals. Recirculating exhaust gas into the intake is a leading cause of unstable combustion and Error 13.
Frequently Asked Questions
While cycling the power (unplugging for 30 seconds) may temporarily clear the code and allow the unit to fire, it does not fix the underlying cause. If the flame rod is dirty or gas pressure is low, the error will inevitably return once the PCB detects the combustion abnormality again.
Not exactly. Error 11 is “No Ignition” (it never started), and Error 12 is “Flame Failure” (it started but went out immediately). Error 13 is more complex, indicating the combustion is *abnormal*—meaning the flame is present but fluctuating or not meeting the engineering parameters for safe operation.
If the issue is simply a dirty flame rod, a service call usually costs between $150 and $250. However, if the PCB (Printed Circuit Board) has failed or the gas valve needs replacement, costs can escalate to $400-$600 including parts and labor.