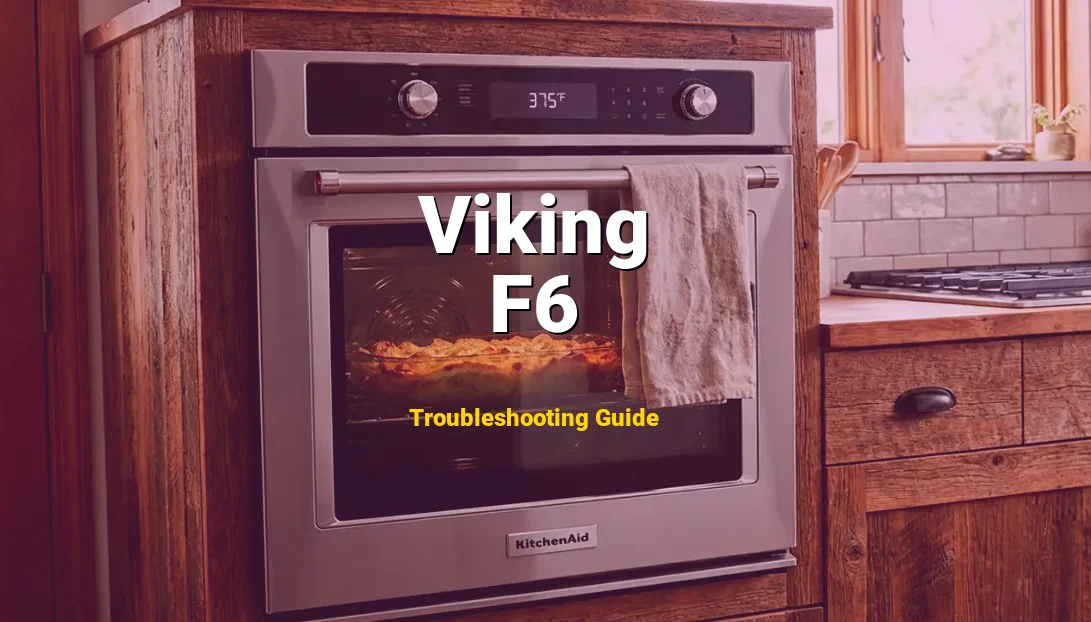
Hey there, home chef! Seeing a blinking “F6” on your beautiful Viking range can definitely feel a bit intimidating, especially when you’re in the middle of meal prep. You might notice the oven shutting down unexpectedly, or perhaps you’ve realized that the usual soft hum of the cooling fan has gone silent. Don’t panic! While this code is designed to protect your appliance’s “brain” from overheating, it is a very common issue that many DIYers can tackle with a bit of patience and the right guidance. I’m here to walk you through the process step-by-step, and we’ll get your kitchen back in action together!
Symptoms of a Viking F6 Error
Before we dive into the guts of the machine, let’s look at how your Viking range is trying to talk to you. The most obvious sign is the F6 code flashing on the digital display, often accompanied by a persistent beeping sound to grab your attention. This usually happens a few minutes after you start a bake or broil cycle.
🛠️ Safety Precaution: High Voltage
Don’t guess the wiring. Get the official PDF to see the exact schematics.
Physically, you might notice that the control knobs or the touch panel feel unusually hot to the touch. This is because the cooling fan, which normally creates a barrier of air between the oven cavity and the electronics, isn’t doing its job. You may also notice a lack of airflow coming from the vent trim (usually located just above the oven door or below the control panel). Finally, if the oven starts a cycle but then shuts off completely after 10-15 minutes, it’s a classic sign that the thermal safety switch has tripped because the cooling fan failed to engage.
Troubleshooting & Replacement Instructions
Ready to get your hands dirty? Follow these steps carefully. Remember, we are going to be very thorough to ensure your safety and success.
- Safety First – Power Down: Before you even touch a screwdriver, you must disconnect the power. Pull the range out and unplug it, or flip the dedicated circuit breaker in your home’s electrical panel. Warning: Ovens carry high voltage; never attempt a repair while the unit is live. Verify the display is dark before proceeding.
- Accessing the Cooling Fan: On most Viking professional ranges, the cooling fan is located behind the control manifold or at the upper rear of the unit. You will typically need to remove the front control knobs and unscrew the manifold panel using your Phillips head screwdriver. Carefully support the panel as you lower it so you don’t strain the delicate wiring attached to the switches.
- The “Manual Spin” Test: Once you can see the fan (it looks like a long cylindrical “squirrel cage” or a traditional blade fan), try to spin it gently with your finger. It should spin freely with almost no resistance. If it feels stiff, crunchy, or won’t move at all, the motor bearings are shot, and the entire fan assembly needs to be replaced.
- Inspecting the Connections: Look at the wires plugged into the fan motor. Are they charred? Are they loose? Gently tug on each wire to ensure they are seated firmly in their plastic molex connectors. Often, simply reseating these plugs can resolve a “phantom” F6 error caused by a loose connection.
- Testing with a Multimeter: Set your multimeter to the Ohms (Ω) setting. Place the probes on the terminals of the fan motor. If the meter reads “OL” (Open Line) or “0,” the internal windings of the motor have failed, and there is no electrical path. A healthy motor should show a specific resistance reading (usually between 10-40 ohms, though this varies by model). Safety Tip: Only perform this test with the power off.
- Installing the New Fan: If the motor is dead, unscrew the mounting brackets holding the fan housing in place. Slide the old unit out and swap the wiring over to the new fan one wire at a time to ensure you don’t mix them up. Bolt the new fan in, ensuring it is level; an unlevel fan can vibrate and cause a loud rattling noise later!
- Reassembly and Testing: Reattach the control manifold and knobs. Restore power to the unit. Set the oven to a low bake (e.g., 250°F) and listen. You should hear the cooling fan kick on within a minute or two. If the F6 code stays away, you’ve successfully saved the day!
- Difficulty Level: Moderate – Requires some disassembly and basic electrical testing.
- Estimated Time: 45 to 90 minutes.
- Tools Needed:
- Phillips Head Screwdriver (Magnetic tip preferred)
- Digital Multimeter (For testing continuity)
- Nut Driver Set (1/4″ and 5/16″)
- Work Gloves (To protect against sharp metal edges)
- Estimated Cost: $120 – $280 (Depending on whether you need a new fan motor or just a sensor).
What Triggers this Code?
Understanding the “why” helps us fix the “how.” The F6 code isn’t just a random glitch; it’s a response to a specific mechanical or electrical failure. Here are the most common culprits:
- Motor Bearing Failure: Over years of heavy use, the bearings inside the cooling fan motor can dry out or become “gummed up” with microscopic grease particles. This creates friction, making it harder for the motor to spin, which the control board detects as a voltage drop or a speed mismatch.
- Voltage Spikes or Surges: Viking ranges are high-performance machines, but their control boards are sensitive. A minor power surge can sometimes damage the “Hall Effect Sensor” on the fan motor—this is the tiny component that tells the oven how fast the fan is spinning. If the sensor dies, the fan might actually be spinning, but the board thinks it isn’t.
- Obstructions: Sometimes, it’s as simple as a “mechanical block.” Dust bunnies, pet hair, or even a stray piece of insulation can get sucked into the blower wheel, physically preventing it from turning.
- Wiring Harness Degradation: The constant heating and cooling cycles of an oven cause components to expand and contract. Over time, the wire harness connectors leading to the fan can loosen or develop “pitting,” leading to a loss of signal that triggers the F6 alarm.
How to Prevent Error F6
Now that you’ve fixed it, let’s make sure you never have to see that F6 code again! Here are my top mentor tips for maintaining your Viking’s cooling system:
- Avoid Excessive “Self-Clean” Cycles: The self-clean mode reaches temperatures upwards of 800°F. This is incredibly taxing on the cooling fan and the electronic control board. If you do use it, ensure your kitchen is well-ventilated and try to limit use to once or twice a year. Manual cleaning is much kinder to your oven’s components.
- Keep the Vents Clear: Use a vacuum with a brush attachment to clean the intake vents and the exhaust trim every few months. Dust and grease buildup can restrict airflow, forcing the fan motor to work twice as hard and shortening its lifespan.
- Install a Whole-Home Surge Protector: Since the F6 code is often triggered by a failure in the communication between the sensor and the board, protecting your home from “dirty power” can prevent the delicate logic gates on the control board from being fried during a storm.
Frequently Asked Questions
Q: Can I still cook if I ignore the F6 code and just keep the door open?
A: Absolutely not! The F6 code is a safety lockout. If the cooling fan isn’t running, the heat from the oven will quickly melt the insulation on your wiring and can permanently destroy the expensive digital display and control board. It’s a fire safety risk, so please keep the oven off until it’s fixed.
Q: My fan is spinning, but I still see the F6 code. What gives?
A: This usually means the “Hall Effect Sensor” (the speed sensor) is broken. The fan is physically moving, but it’s not “reporting back” to the computer. In this case, you usually have to replace the fan motor assembly anyway, as the sensor is typically integrated into the motor unit.
Q: How do I know if it’s the fan or the actual Control Board that’s broken?
A: Great question! If you test the fan motor with a multimeter and it shows healthy resistance, but the motor never receives 120V of power from the range when you turn the oven on, the problem is likely a stuck relay on the main control board. If the motor is receiving power but won’t spin, the motor is definitely the culprit.