Technical Repair Specifications
| Difficulty Level: | Intermediate to Advanced (Requires chassis entry) |
| Estimated Time: | 45 – 90 Minutes |
| Tools Required: | Phillips Head #2, Digital Multimeter, Needle-nose Pliers, Isopropyl Alcohol (90%+) |
| Estimated Part Cost: | $15 – $55 (Depending on model availability) |
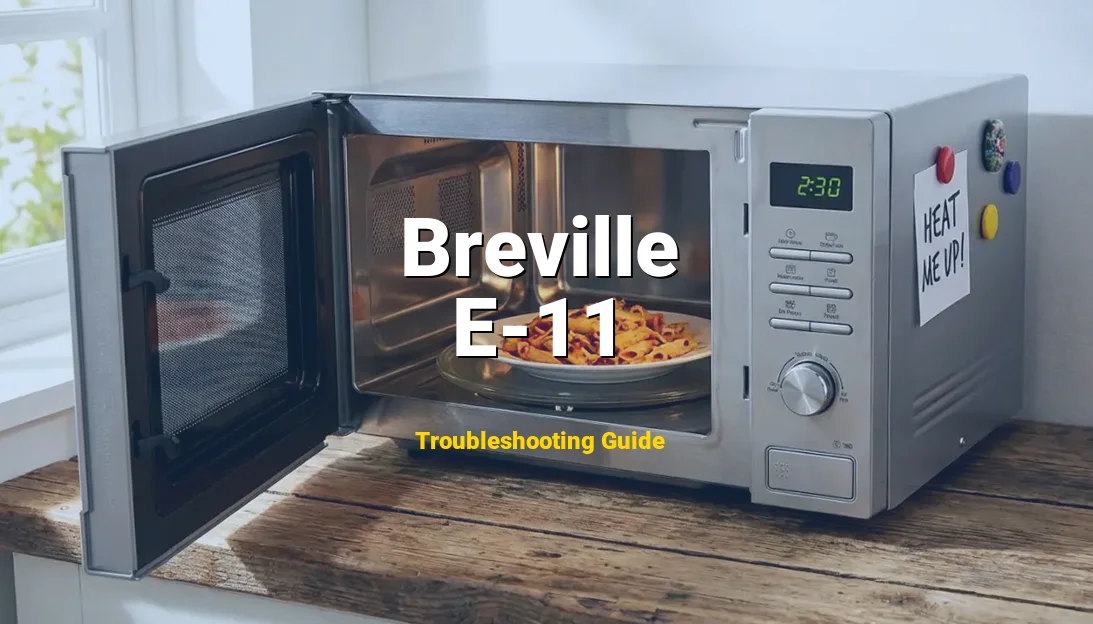
The Breville Microwave Error E-11 is a technical diagnostic code indicating a **Steam Sensor Calibration Error**. This occurs when the microwave’s internal humidity sensor (often used for “Sensor Cook” or “Smart Reheat” functions) fails to send a coherent voltage signal to the main PCB, signaling that the sensor is either disconnected, contaminated, or functionally dead.
If you are seeing this code, you are likely experiencing a microwave that refuses to start its automated cycles, or perhaps one that shuts down abruptly after 30 seconds of operation. You might find your food remains stone-cold despite the timer counting down, or the unit may emit an uncharacteristic series of beeps before locking the interface. While a sensor error sounds daunting, as a senior engineer, I can assure you that this is a common failure point in high-end appliances that is entirely fixable with the right diagnostic approach.
How to Fix Breville Error E-11 (Step-by-Step)
SAFETY WARNING: Microwaves contain a High-Voltage Capacitor that can hold a lethal charge (3,000V+) even when the unit is unplugged. Do not touch the capacitor or the magnetron terminals unless you are experienced in discharging them. Proceed at your own risk.
🛑 Safety Precaution: High Voltage
Don’t guess the wiring. Get the official PDF to see the exact schematics.
- The “Hard Reset” Attempt: Before opening the unit, perform a logic reset. Unplug the microwave for exactly 10 minutes. This allows the capacitors on the logic board to drain completely. Plug it back in and try a manual cook cycle (e.g., 30 seconds on high). If the error persists, the issue is hardware-related.
- Accessing the Internals: Unplug the unit. Remove the outer screws from the back and sides of the microwave using a Phillips head screwdriver. Gently slide the stainless steel “skin” or cover backward and lift it off. Set it aside in a safe place to avoid scratching the finish.
- Locating the Steam Sensor: Look for the plastic exhaust ducting, usually located on the top or upper side of the cooking cavity. Mounted to this duct, you will find a small component with 2 to 4 thin wires leading to the main circuit board. This is your steam sensor.
- Inspection and Cleaning: Carefully unplug the wiring harness from the sensor. Inspect the pins for any greenish oxidation or black carbon scoring. Use a cotton swab dipped in 90% Isopropyl alcohol to clean the sensor’s intake vent. Dust and grease buildup here is the #1 cause of E-11.
- Testing with a Multimeter: Set your multimeter to the Ohms (Ω) setting. Place the probes on the sensor terminals. A functional sensor usually reads between 5k and 100k ohms depending on the ambient temperature. If your meter reads “OL” (Open Line) or “0.00” (Short), the sensor is dead and must be replaced.
- Replacing the Sensor: If the sensor is faulty, unscrew its mounting bracket and install a genuine Breville replacement part. Ensure the wiring harness clicks firmly into place; a loose connection will re-trigger the E-11 code immediately.
- Reassembly and Testing: Reinstall the outer cover before plugging the unit in. NEVER operate a microwave with the cover off, as this exposes you to microwave radiation leakage. Once sealed, run the “Sensor Reheat” mode with a glass of water. If the unit completes the cycle, the calibration is successful.
Why is my Breville showing Error E-11?
In the world of appliance engineering, sensors are the “eyes” of the machine. When those eyes go “blind,” the system enters a fail-safe mode to prevent a fire hazard or overcooking. Here are the primary technical causes for an E-11 failure:
- Contamination of the Humidity Sensor: The steam sensor is located near the exhaust duct. Over years of use, aerosolized grease, oils, and heavy steam can coat the sensor’s thermistor or capacitive plate. This “gunk” acts as an insulator, preventing the sensor from detecting the actual moisture levels in the cavity.
- NTC Thermistor Degradation: Most Breville steam sensors utilize a Negative Temperature Coefficient (NTC) thermistor. These components have a finite lifespan. Repeated thermal expansion and contraction (heating and cooling) can cause micro-fractures in the semiconductor material, leading to an “open circuit” or “short circuit” that the logic board interprets as E-11.
- Wiring Harness Corrosion or Vibration: Microwaves vibrate significantly due to the cooling fan and the 60Hz hum of the transformer. Over time, the delicate molex connectors that join the sensor to the Main Control Board can wiggle loose or develop oxidation. If the board loses contact for even a millisecond, the error code is hard-coded to trigger.
- Voltage Spikes and Logic Corruption: Breville units are sensitive to “dirty” power. A brownout or a sudden surge can corrupt the calibration data stored in the EEPROM on the control board. In this case, the sensor might be fine, but the board no longer knows how to “read” it.
Symptoms of Breville E-11 Failure
When a Breville microwave (such as the Quick Touch or Smooth Wave series) encounters an E-11 state, the symptoms are usually distinct and repetitive. Recognizing these early can prevent further damage to the magnetron or high-voltage transformer.
- The “30-Second Shutdown”: The most common symptom. You select a “Smart” program, the microwave begins to hum, but at exactly the point where the sensor should begin reading steam levels (usually 30-60 seconds in), the unit cuts power and displays “E-11”.
- Inconsistent Heating: Because the steam sensor provides feedback to the CPU to adjust power levels, a failing sensor may cause the unit to run at 100% power when it should be at 10%, resulting in burnt edges and frozen centers.
- Non-Responsive “Sensor” Buttons: The “Reheat” or “Cook” buttons may become completely unresponsive, or pressing them immediately triggers the error beep without the turntable even rotating.
- Visual Error Code: The digital VFD or LCD display will flash “E-11” or “Error 11,” often accompanied by a persistent cooling fan that refuses to turn off until the unit is unplugged.
How to Prevent Error E-11
To ensure your Breville microwave remains in peak engineering condition and to avoid the recurrence of E-11, follow these maintenance protocols:
- Optimize Ventilation: Ensure there is at least 4-6 inches of clearance around the microwave vents. If steam cannot escape the unit efficiently, it swirls back into the internal chassis, saturating the sensor and leading to premature corrosion.
- Clean the Interior Ceiling: Most users clean the turntable, but few clean the “ceiling” of the microwave. Splattered food on the ceiling near the sensor intake emits odors and vapors that can confuse the steam sensor’s calibration during future use.
- Use a Dedicated Surge Protector: High-end Breville appliances contain sophisticated microprocessors. Using a high-quality surge protector (specifically one rated for appliances) protects the sensitive Analog-to-Digital converters on the PCB that interpret sensor data.
Frequently Asked Questions
Q: Can I still use the microwave if E-11 is flashing?
A: Generally, no. Most Breville models lock the interface as a safety precaution when E-11 is detected. Even if you can bypass it using “Manual Time Cook,” the underlying sensor fault could lead to the unit overheating or failing to vent properly. It is best to resolve the error before continued use.
Q: Is the Steam Sensor the same as the Humidity Sensor?
A: Yes, in the context of Breville microwaves, these terms are used interchangeably. Technically, it is an absolute humidity sensor that measures the moisture content of the air expelled from the oven cavity to determine when food has reached its boiling point.
Q: How much does a professional repair cost for E-11?
A: If you take the unit to an authorized service center, expect to pay between $150 and $250. This usually includes a flat diagnostic fee, the cost of the sensor ($30-$50), and an hour of labor. Given the price of premium Breville models, this is often more economical than replacement.