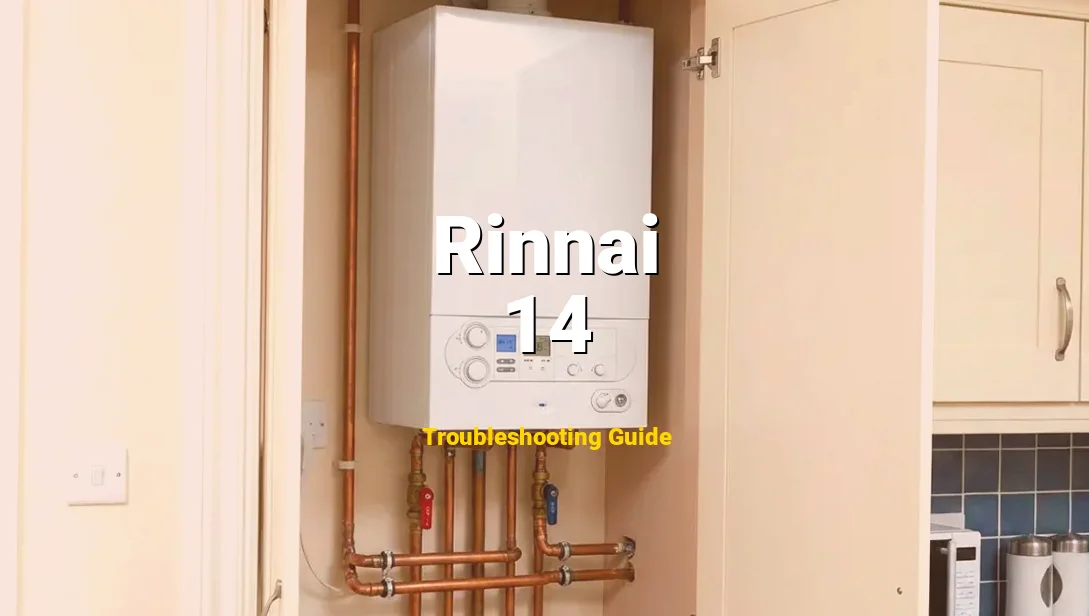
Rinnai Error Code 14 specifically signifies a “Thermal Fuse Failure.” This is a critical safety intervention where the unit’s thermal fuse—a protective wire wrapped around the heat exchanger—has melted or broken. This occurs because the heat exchanger reached an unsafe temperature, triggering a permanent circuit break to prevent a catastrophic fire or unit meltdown.
⚡ Important: Official Documentation
Don’t guess the wiring. Get the official PDF to see the exact schematics.
If you are seeing this code, you are likely experiencing a total loss of hot water, as the system has entered a hard lockout state for your protection. You might hear the fan attempt to spin briefly before the unit shuts down, or you may have noticed a faint “metallic” smell before the failure. While this sounds daunting, it is a safety feature doing its job. Rest assured, with the right diagnostic steps and replacement parts, your Rinnai unit can be restored to safe operation.
| Category | Specification |
|---|---|
| Difficulty Level | Advanced / Technical |
| Estimated Time | 60 – 120 Minutes |
| Required Tools | Phillips Head Screwdriver (#2), Digital Multimeter, Needle-nose Pliers, Soft Bristle Brush |
| Estimated Cost | $30 – $90 (Parts Only) |
Symptoms of Rinnai Error 14
- Digital Display Flash: The remote controller or the PC board on the unit will display a blinking “14,” indicating a lockout.
- Immediate Shutdown: The unit may click and attempt to ignite, but the safety circuit will immediately terminate the ignition sequence.
- No Hot Water: Since the thermal fuse is a “one-and-done” safety device, the water will remain completely cold; there is no “lukewarm” phase once the fuse has blown.
- System Lockout: Unlike minor errors that can be cleared by power-cycling, Error 14 usually persists because the physical circuit in the overheat wrap is physically broken.
- Audible Fan Activity: You may hear the combustion fan run at high speeds as the system attempts a post-purge of heat before locking out.
Technical Explanation of the Fault
Technical Explanation of the Fault
As a Safety Compliance Officer, it is imperative you understand that Error 14 is not a “glitch.” It is a physical reaction to excessive heat. The thermal fuse (also known as an overheat wrap) is a thin wire with a specific melting point wrapped around the heat exchanger. When the exchanger exceeds safe thresholds, the wire melts, opening the electrical circuit to the PC board.
1. Mineral Scale Accumulation: This is the primary culprit. Hard water deposits (calcium and magnesium) coat the inside of the heat exchanger tubes. This scale acts as an insulator. To heat the water to your desired temperature through that layer of “rock,” the burner must stay on longer and burn hotter. Eventually, the exterior of the heat exchanger becomes hot enough to melt the safety fuse.
2. Restricted Airflow or Venting: If the intake air filter is clogged or the exhaust vent is obstructed (by bird nests, snow, or debris), the unit cannot dissipate heat efficiently. This trapped thermal energy builds up within the cabinet, causing the ambient temperature around the heat exchanger to spike beyond the fuse’s tolerance.
3. Flame Abnormality: If the burner assembly is dirty or the gas pressure is incorrectly set, the flame may be “lifting” or “pinching” against the heat exchanger walls rather than flowing through the center. This creates localized “hot spots” that can trigger a fuse failure even if the overall water temperature seems normal.
4. Low Water Flow: If the water flow is too low while the burner is at high output, the water cannot carry heat away from the exchanger fast enough, leading to rapid overheating.
How to Fix Rinnai Error 14 (Step-by-Step)
How to Fix Rinnai Error 14 (Step-by-Step)
WARNING: This procedure involves working with electrical components and gas-fired equipment. Failure to follow safety protocols can result in fire, explosion, or electrocution. If you are uncomfortable with high-voltage testing, contact a licensed technician.
- Isolate Power and Gas:
Before touching any internal components, unplug the unit from the electrical outlet. Then, turn the gas shut-off valve (usually a red or yellow handle) to the “OFF” position (perpendicular to the pipe). NEVER work on a live unit.
- Remove the Front Access Panel:
Using your Phillips head screwdriver, remove the four screws located at the corners of the front cover. Carefully pull the panel toward you and set it aside in a safe location to avoid scratching the finish or bending the metal.
- Perform a Visual Inspection:
Look at the heat exchanger (the large copper component). Check for signs of “sooting” (black carbon buildup) or discoloration. Examine the thin white wires wrapped around the exchanger—this is the thermal fuse. Look for any visible breaks or charred insulation.
- Continuity Test (The Diagnostic Key):
Set your Digital Multimeter to the Ohms (Ω) or Continuity setting. Locate the connector where the thermal fuse plugs into the PC board (refer to your unit’s wiring diagram on the inside of the front panel). Disconnect the plug and place your probes on the two terminals of the fuse side.
Safety Warning: If the meter reads “OL” (Open Loop) or “Infinite,” the fuse is blown and must be replaced. If you have continuity, the problem lies within the PC board itself, which is a much more expensive repair. - Address the Root Cause (Crucial Step):
STOP! Do not simply replace the fuse. If you do not fix why it blew, the new fuse will blow within minutes. Check the air intake filter for dust and debris. If the unit hasn’t been descaled in over a year, you must perform a vinegar/descale flush to remove the mineral buildup that caused the overheat.
- Replace the Thermal Fuse/Overheat Wrap:
If the fuse is blown, carefully unclip the old wire from the heat exchanger. Rinnai sells these as a specific kit. Install the new wrap exactly as the old one was positioned, ensuring it is snug against the exchanger. Plug the new connector into the PC board.
- Reassemble and Test:
Replace the front cover and secure the screws. Turn the gas supply back on, then plug the unit into the electrical outlet. Open a hot water tap and observe the unit’s behavior. The “14” code should be cleared. If it returns immediately, the heat exchanger may be internally damaged and require full replacement.
How to Prevent Error 14
To avoid a recurrence of this safety shutdown, adhere to the following strict maintenance schedule:
- Annual Descaling: If you live in a hard water area, mineral scale is your water heater’s greatest enemy. Flush the unit with food-grade white vinegar or a certified descaling solution every 12 months to keep the heat exchanger clean and efficient.
- Clean the Air Filter: Most Rinnai units have a small plastic mesh filter on the air intake. Check this every 3 months. A dusty filter starves the burner of oxygen, leading to improper combustion and excessive heat.
- Install a Surge Protector: While Error 14 is thermal, voltage spikes can occasionally damage the sensors on the PC board that interpret the fuse’s signal. A dedicated surge protector for your tankless unit is a cheap insurance policy.
FAQ
Frequently Asked Questions
Q: Can I bypass the thermal fuse by jumping the wires?
A: ABSOLUTELY NOT. As a Safety Compliance Officer, I must warn you that bypassing a safety fuse is a violation of fire codes and creates a massive risk of house fire. The fuse is there because your unit reached dangerous temperatures. Bypassing it removes the only thing stopping the unit from melting down or catching fire.
Q: Is Error 14 covered under the Rinnai warranty?
A: Generally, the part (the fuse) may be covered if the unit is within the warranty period. However, if the failure was caused by a lack of maintenance (scale buildup), Rinnai may deny the claim. Most warranties require proof of annual flushing.
Q: How do I know if my heat exchanger is cracked vs. just a blown fuse?
A: Look for water dripping from the bottom of the cabinet or green/white oxidation marks on the copper fins of the heat exchanger. If you see active leaks and an Error 14, the heat exchanger has likely failed due to stress and must be replaced entirely.