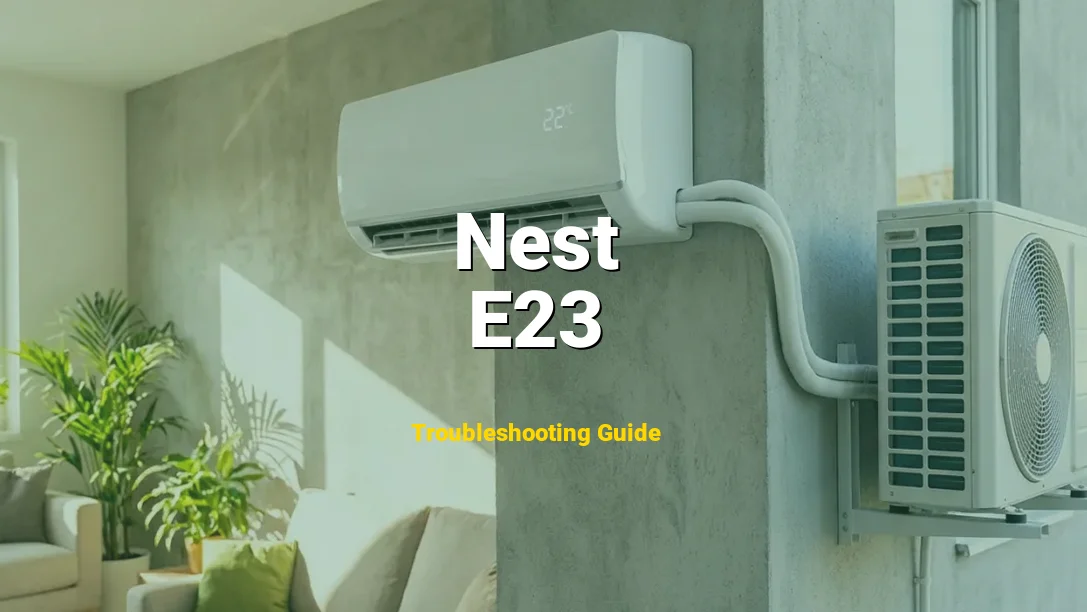
Definition: Nest Error E23 signifies a critical power failure where the thermostat base detects no electrical current on the Rc terminal. This terminal is specifically dedicated to the cooling system’s 24VAC power supply. Without this voltage, your thermostat cannot signal the air conditioner to activate or maintain its internal battery charge.
📖 Safety Precaution: High Voltage
Incorrect repairs can cause fire or injury. Always verify with the manufacturer’s manual.
When this error occurs, you are likely experiencing a complete loss of cooling, an unresponsive thermostat display, or a blinking red light indicating the battery is dying. You might hear the indoor fan blowing, but the outdoor condenser remains silent, or the entire system may seem “dead.” While seeing an error code on a smart device can be intimidating, this is often a protective measure triggered by your HVAC system’s safety switches. Don’t worry, this is a fixable issue that usually points to a simple electrical or drainage problem rather than a broken thermostat.
Symptoms of Nest Error E23
- Unresponsive Interface: The Nest display may be completely black, or it may show a “Low Battery” warning with a red blinking LED at the top of the unit.
- AC Failure: Your indoor vents may be blowing room-temperature air because the outdoor compressor is not receiving the signal to start due to lack of power on the Rc line.
- App Disconnection: The Google Home or Nest app shows the device as “Offline,” as the unit has entered power-save mode to preserve the remaining battery life.
- Intermittent Cycling: The cooling system may start for a few seconds and then abruptly shut off as the safety switch trips and resets, repeatedly triggering the E23 notification.
Comprehensive Repair Guide
Comprehensive Repair Guide
-
Power Down the System:
Before touching any wires, locate your home’s electrical service panel. Switch the breaker labeled “Furnace” or “Air Handler” to the OFF position. Safety Warning: Even though thermostat wires are “low voltage,” they are connected to 120V/240V components. Working on a live system can cause short circuits that destroy the expensive Nest baseplate or the furnace control board.
-
Inspect the Condensate Drain Line:
Go to your indoor AC unit (usually in an attic, closet, or basement). Look for a PVC pipe coming out of the unit. If you see a small plastic switch with wires coming out of it (the float switch) sitting in a tray of water, you have found your problem. Use a Shop-Vac on the outside exit of the PVC drain line to suck out any clogs. Once the water drains, the switch will drop, and power will be restored to the Rc wire.
-
Check the Internal Fuse:
Using your Phillips head screwdriver, remove the access panel to your furnace or air handler. Locate the integrated tool control board (it looks like a green computer motherboard). Look for a small, colored plastic fuse. Pull it out and inspect the metal filament inside. If the filament is broken or the plastic is charred, replace it with an identical 3A or 5A fuse available at any auto parts or hardware store.
-
Test Voltage with a Multimeter:
Pull the Nest display off the wall. Set your multimeter to “AC Voltage” (VAC). Touch one probe to the Rc wire and the other to the C (Common) wire or a grounded metal screw. You should read between 22V and 28V. If you read 0V, the break is between the thermostat and the furnace. If you have power at the wires but the Nest still shows E23, the Nest baseplate itself may be faulty.
-
Inspect and Re-seat Wires:
Ensure the Rc wire is stripped of exactly 3/8-inch of insulation. The copper should be straight and clean. Press the connector button on the Nest base and push the wire in firmly. If the copper is oxidized (dark or green), use wire strippers to cut a fresh end and expose shiny new copper for a better electrical connection.
-
Restore Power and Reboot:
Replace all HVAC panels (many units have a “door switch” that prevents operation if the panel is off). Flip the breaker back on. Attach the Nest display. It may take 5–10 minutes to charge enough to turn back on. Navigate to Settings > Technical Info > Power to confirm the “Voc” or “Vin” is above 28V.
| Repair Specifications | |
|---|---|
| Difficulty | Intermediate (Requires basic electrical testing) |
| Estimated Time | 45 to 90 Minutes |
| Tools Needed | Digital Multimeter, Phillips Head Screwdriver, Wire Strippers, Shop-Vac or Drain Snake |
| Estimated Cost | $0 (Reset) to $120 (Replacement Transformer/Contractor) |
Why is my Nest showing Error E23?
Why is my Nest showing Error E23?
Understanding the “why” is essential for a permanent fix. Error E23 isn’t just a random glitch; it is a response to a break in the 24-volt circuit that powers your cooling controls. Here are the primary culprits:
- Tripped Condensate Float Switch: This is the most common cause. When your AC runs, it pulls moisture from the air. If the drain line is clogged with algae or debris, water backs up into a safety pan. A “float switch” detects this and cuts power to the Rc wire to prevent a flood. This is a safety feature, not a failure of the electronics.
- Blown Low-Voltage Fuse: Inside your air handler or furnace, there is a control board with a small automotive-style fuse (usually 3-amp or 5-amp). A minor power surge or a momentary short circuit in the wiring can “pop” this fuse, instantly killing power to the Nest.
- Wiring Degradation and Vibration: Over years of operation, the vibrations from the blower motor can cause wires to rub against metal panels, leading to “chafing.” If the Rc wire’s insulation wears through and touches the chassis, it shorts out the circuit.
- Transformer Burnout: The transformer converts your home’s 120V power to 24V for the thermostat. Constant voltage spikes or high demand from multiple zones can cause the internal coils of the transformer to fail, resulting in zero output to the Rc terminal.
How to Prevent Error E23
Once you have restored your cooling, take these preventative measures to ensure the E23 error doesn’t return during a heatwave:
- Bi-Annual Drain Cleaning: Every six months, pour a cup of distilled white vinegar down your AC condensate drain line. This prevents the buildup of “algae slime” that typically trips the float switch and cuts the Rc power.
- Install an HVAC Surge Protector: Most homeowners protect their TVs but forget their HVAC. A dedicated surge protector installed at the outdoor disconnect or the indoor furnace can prevent voltage spikes from blowing the low-voltage fuse or frying the transformer.
- Secure Loose Wiring: During your annual maintenance, ensure all thermostat wire nuts are tight and that wires are tucked away from moving parts like the blower fan or vibrating copper refrigerant lines.
Frequently Asked Questions
No. While older “dumb” thermostats used a jumper wire between Rh and Rc, the Nest Thermostat has an internal digital bridge. If you have a separate Rc wire, it must have its own 24V source. Attempting to bridge them manually can cause a “Power Wire Rh/Rc” error or damage the Nest’s internal circuitry.
The C-wire (Common) completes the circuit, but the Rc wire is the source of the power. If the float switch trips or the fuse blows, the source is cut off. The C-wire cannot provide power; it only provides the path back to the transformer. You must still troubleshoot the source of the Rc power loss.
Not always, but they are related. If the Rc wire loses power (E23), the Nest begins to run solely on its internal lithium-ion battery. Eventually, that battery drains, leading to the “Low Battery” message. Fixing E23 is the only way to allow the thermostat to start charging again.