Quick Repair Specs
| Difficulty: | Intermediate (Requires electrical testing) |
| Estimated Time: | 45 – 90 Minutes |
| Tools Needed: | Phillips #2 Screwdriver, Digital Multimeter, Electrical Contact Cleaner, Needle-nose Pliers |
| Estimated Cost: | $0 (Loose wire) to $250 (New Control Board) |
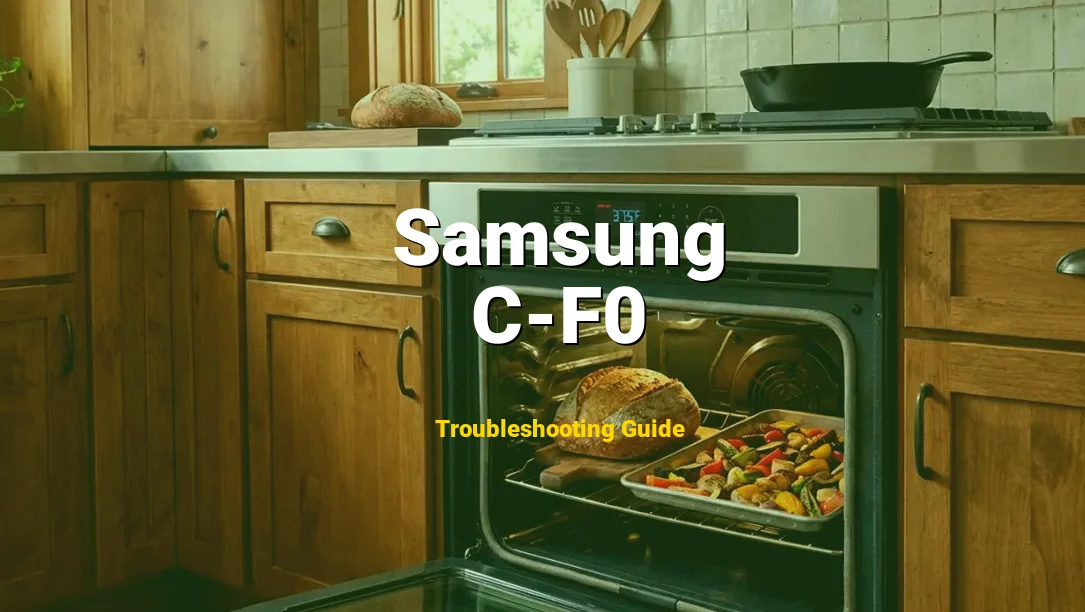
The Samsung Oven Error Code C-F0 is a high-level communication failure, specifically defined as a Main-to-Sub PCB Communication Error. This diagnostic code triggers when the oven’s primary logic board (the Main PCB) loses its ability to send or receive data packets from the secondary control board (Sub-PCB), which typically governs the display and user interface inputs.
⚠️ Warning: Check Manual First
Don’t guess the wiring. Get the official PDF to see the exact schematics.
When this happens, you may notice your oven display becoming unresponsive, flickering, or cycling through the error code repeatedly while disabling all heating functions. While a communication breakdown sounds terminal, it is often caused by localized interference or a loose physical connection. Rest assured, as a senior engineer, I can tell you that this is a solvable issue that doesn’t always require an expensive part replacement.
The Complete Solution
The Complete Solution: Step-by-Step Fix
Step 1: Perform a “Hard Logic Reset”
Before disassembling the unit, we must clear the capacitive charge in the control boards. Go to your home’s circuit breaker panel and flip the dual-pole breaker for the oven to the “OFF” position. Leave it off for at least 15 minutes. This allows the capacitors on the Main PCB to fully discharge, potentially clearing a software glitch. Flip the power back on; if the code persists, proceed to the mechanical steps.
Step 2: Access the Control Boards
Slide the oven out from the cabinetry (you may need two people). For most Samsung ranges, the control boards are accessed by removing the upper rear cover plate. Use your Phillips head screwdriver to remove the perimeter screws. Set them aside in a secure bowl. Carefully lift the metal panel to reveal the Main PCB and the wiring harness leading to the front Sub-PCB.
Step 3: Inspect and Reseat Harnesses
Locate the multi-wire harness (often a white or grey ribbon cable) that connects the back board to the front display board. Unplug this cable entirely. Inspect the pins for any signs of corrosion, blackened “arc” marks, or bent pins. Use Electrical Contact Cleaner on the terminals to ensure a pure metal-to-metal connection. Plug the cable back in firmly until you hear a distinct “click.”
Step 4: Continuity Testing with a Multimeter
Set your multimeter to the Ohms (Ω) or Continuity setting. Touch the probes to the corresponding ends of each wire in the communication harness. If the meter shows “OL” (Open Loop) for any wire, that specific wire has a break inside the insulation, and the harness must be replaced. A healthy wire should read near 0.1 to 0.5 Ohms.
Step 5: Component Replacement
If the wiring is perfect and the reset didn’t work, the failure lies in the communication chip on either the Main or Sub PCB. Usually, the Main PCB (the larger board) is the culprit. Swap the board by transferring one wire at a time to the new unit to avoid cross-wiring, then secure it with the original mounting screws.
Why is my Samsung showing Error C-F0?
Why is my Samsung showing Error C-F0?
In the world of appliance engineering, communication errors are usually distilled down to three failure points: the sender, the receiver, or the path between them. Here is a deep dive into why these components fail:
1. Vibration-Induced Connector Back-out: Modern ovens use high-speed convection fans. Over years of operation, the micro-vibrations can cause the plastic “Molex” connectors or ribbon cables to slowly wiggle out of their sockets on the PCB. Even a fraction of a millimeter of separation can interrupt the low-voltage DC signals (usually 5V or 12V) required for data transfer.
2. Voltage Spikes and Transients: The microprocessors on the Main and Sub boards are highly sensitive to “dirty power.” A nearby lightning strike or a utility grid surge can “scramble” the logic state of the communication IC (Integrated Circuit). This doesn’t always fry the board; sometimes it simply puts the software in a “hang” state where it can no longer process serial data.
3. Thermal Stress and Solder Fatigue: Ovens are hostile environments. The control area is shielded, but it still experiences significant heat cycling. Over time, the solder joints where the wire harness meets the board can develop microscopic “cold cracks.” This increases resistance, leading to a C-F0 error as the signal integrity degrades below a readable threshold.
Symptoms of Error C-F0
The manifestation of a C-F0 error is rarely subtle. Because the “brain” of the oven cannot talk to the “face” of the oven, the appliance enters a safety lockout mode. You will likely observe the following:
- Control Panel Paralysis: The most common sign is a completely non-responsive touch membrane or rotary dial. You press “Bake” or “Start,” and nothing happens.
- Intermittent Display Flashing: The C-F0 code may flash on and off, sometimes accompanied by a persistent beeping sound as the boards attempt to re-establish a “handshake” connection.
- Mid-Cycle Shutdown: The oven may start normally, but as it reaches higher temperatures, the thermal expansion causes a marginal connection to fail, resulting in the oven turning off and displaying the code mid-roast.
- Cooling Fan Irregularity: In some models, since the sub-board handles the display and the main board handles the loads, you might hear the cooling fan kick into high gear as a default safety override.
How to Prevent Error C-F0
Once you have restored communication, you want to ensure the error does not return. Follow these engineering best practices:
- Install an Appliance Surge Protector: Since C-F0 is often triggered by voltage irregularities, a dedicated surge protector designed for 240V appliances can buffer the sensitive electronics from grid spikes.
- Ensure Proper Rear Ventilation: Check that the oven is not pushed so far back that it crushes the rear cooling vents. Excessive heat buildup in the rear cavity accelerates the degradation of the PCB solder joints and wire insulation.
- Avoid High-Moisture Cleaning: When cleaning the front control panel, never spray liquid cleaners directly onto the buttons. Moisture can seep behind the Sub-PCB, causing a short circuit in the communication rail. Spray the cloth, then wipe.
Frequently Asked Questions
Q: Can I still use the stovetop if the oven shows C-F0?
A: Generally, no. On most Samsung electric ranges, the Main PCB controls both the oven relays and the surface element signals. As a safety precaution, the “Communication Error” usually locks out the entire appliance to prevent uncommanded heating.
Q: Is C-F0 the same as C-F1?
A: Not exactly. While both are communication errors, C-F0 specifically refers to the Main-to-Sub link. C-F1 usually points to a failure in the Touch Key sensing communication. However, the troubleshooting steps (checking harnesses) are identical for both.
Q: Why did the error appear right after using the Self-Clean cycle?
A: The Self-Clean cycle creates extreme internal temperatures. This heat can cause the control board area to expand significantly. If a solder joint was already weak, the thermal expansion of the Self-Clean cycle is often the “final straw” that breaks the connection.