As a user, you may notice the machine stopping abruptly mid-cycle, the display panel flickering erratically, or the washer failing to heat water correctly. You might even hear clicking sounds as the relays attempt to engage. While an electrical fault sounds daunting, this issue is often fixable through a systematic diagnostic approach and basic component checks.
| Metric | Details |
|---|---|
| Difficulty Level | Intermediate (Requires electrical testing) |
| Estimated Time | 45 – 90 Minutes |
| Required Tools | Digital Multimeter, Phillips Head Screwdriver (#2), Needle-nose Pliers, Work Gloves |
| Estimated Cost | $0 (Reset) to $180 (PCB Replacement) |
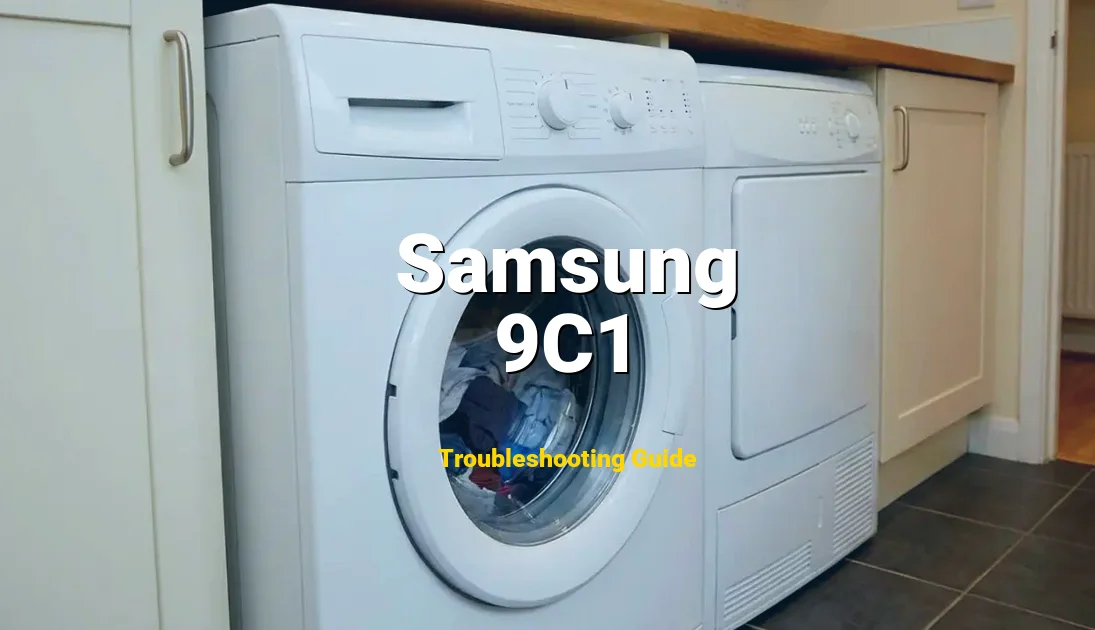
Symptoms of Error Code 9C1
- Digital Display Warning: The washer’s LED or LCD screen will flash “9C1,” “9C,” or in some older models, “9E1,” and the machine will emit a series of warning chimes before locking the door or draining the water.
- Intermittent Power Loss: The unit may shut down completely during high-torque moments, such as the transition from the wash cycle to the high-speed spin cycle.
- Control Panel Unresponsiveness: Buttons may fail to register, or the machine may enter a “ghost” mode where lights flash but no cycle can be initiated.
- Abnormal Water Temperatures: Because the power supply is inconsistent, the heating element may not receive the necessary voltage, resulting in lukewarm or cold water during a “Hot” cycle.
- Audible Relay Clicking: You may hear the Main PCB (Power Control Board) clicking repeatedly as it attempts to stabilize the incoming current.
Technical Explanation of the Fault
The 9C1 error is rarely a random glitch; it is a calculated response by the machine’s firmware to protect its hardware. Here are the primary technical causes:
🛑 Safety First: Read Before Repairing
For your safety and to avoid voiding the warranty, please check the official docs.
1. Voltage Instability and Surges: Modern Samsung washers utilize highly sensitive microprocessors. If your home’s electrical grid experiences a “brownout” (voltage drop) or a “spike” (voltage surge), the machine’s internal sensors detect that the power is outside the 110V-120V (60Hz) threshold. To prevent the PCB from literally burning up, it triggers the 9C1 code and cuts power to major motors.
2. Loose Wiring or Terminal Corrosion: Over years of operation, the heavy vibrations of the top-load spinning process can cause the Molex connectors on the Main PCB to wiggle loose. Furthermore, if the laundry room is poorly ventilated, humidity can cause oxidation on the wire terminals. This creates “electrical noise” or resistance, which the control board interprets as an unstable power supply.
3. Main Control Board (PCB) Failure: The Main PCB contains capacitors designed to smooth out electrical current. If these capacitors leak or “bulge” due to age or heat stress, they can no longer maintain a steady voltage. The board then misreads its own internal power levels, triggering a false-positive 9C1 error even if the wall outlet is providing perfect power.
4. Electromagnetic Interference (EMI): If the washer is sharing a circuit with another high-draw appliance (like a refrigerator or a microwave), the “noise” generated by those other motors can interfere with the washer’s electronic frequency detection.
Comprehensive Repair Guide
MANDATORY SAFETY WARNING: Before beginning any internal inspection, you MUST unplug the washer from the wall outlet. Electrocution can occur even if the machine is “off” but still plugged in. If the machine has just finished a cycle, wait 10 minutes for the internal capacitors to discharge their stored energy.
- Step 1: The Hard Power Reset
Unplug the washer from the wall. While it is unplugged, press and hold the “Start/Pause” button for at least 20 seconds. This step is critical as it bleeds off any residual static electricity stored in the control board’s capacitors. Leave the unit unplugged for an additional 10 minutes. Plug it back in—ideally directly into the wall, avoiding all extension cords or power strips—and attempt a “Rinse and Spin” cycle to see if the code clears. - Step 2: Wall Outlet and Circuit Verification
SAFETY WARNING: Do not touch exposed wires. Use a digital multimeter set to AC Voltage. Insert the probes into the wall outlet. The reading should be between 108V and 132V. If the reading is lower or fluctuates wildly, the issue is with your home’s wiring, not the washer. Inspect the plug for any signs of singeing or melted plastic, which indicates a dangerous “arc” condition that requires an electrician. - Step 3: Accessing the Main Control Board
Using your Phillips head screwdriver, remove the screws located at the rear of the top control console. Carefully tilt the console forward to expose the Main PCB, which is usually housed in a plastic protective casing. SAFETY TIP: Take a high-resolution photo of the wiring before touching anything to ensure you know exactly where every color-coded wire returns. - Step 4: Inspecting Connectors and Continuity
Gently tug on each wire harness connected to the PCB to ensure they are firmly seated. Look for “cold solder joints”—dull, cracked spots on the back of the circuit board—or black carbon marks indicating a short circuit. Use your needle-nose pliers to tighten any loose spade connectors. If you see any signs of “bloated” capacitors (tops that are rounded instead of flat), the board is defective and must be replaced. - Step 5: Testing the Noise Filter
Follow the power cord to where it enters the machine; it usually connects to a small silver or white cylinder called a “Noise Filter.” Use your multimeter to check the continuity from the input side to the output side. If the noise filter has failed, it will send “dirty” power to the PCB, triggering the 9C1 error. If the filter shows no continuity, replace this component immediately.
How to Prevent Error 9C1
To ensure this electrical fault does not return and potentially destroy your machine’s brain, follow these strict maintenance protocols:
1. Install a Dedicated Appliance Surge Protector: Do not use a standard power strip designed for computers. Use a high-joule surge protector specifically rated for major appliances. This acts as a sacrificial barrier, absorbing high-voltage spikes before they reach the Samsung PCB.
2. Use a Dedicated Circuit: Ensure your washer is on its own 15-amp or 20-amp circuit. Sharing a circuit with a vacuum cleaner or a space heater will cause voltage drops every time the other appliance kicks on, which is a leading trigger for the 9C1 error.
3. Monitor Laundry Room Humidity: High moisture levels can lead to terminal corrosion. Ensure your laundry room has adequate ventilation. If the room is naturally damp, use a dehumidifier to protect the washer’s internal electronics from “creeping” oxidation.
FAQ
Frequently Asked Questions
Q1: Can I still use the washer if the 9C1 error only appears occasionally?
A: Absolutely not. As a Safety Compliance Officer, I must warn you that an intermittent 9C1 error indicates a “floating” electrical fault. Continuing to use the machine can lead to a thermal event (fire) or complete fried circuitry, turning a simple repair into a total loss of the appliance.
Q2: Is the 9C1 error different from the 9E1 error?
A: They are functionally identical in many Samsung diagnostic protocols. Both refer to “Power Error” or “Voltage Abnormality.” The fix steps—checking the power source, the noise filter, and the PCB—remain the same regardless of which specific code appears.
Q3: Why did my washer start showing 9C1 after a thunderstorm?
A: Lightning strikes or grid switching after a storm can send a massive surge through your home’s lines. If your washer was plugged in, the surge likely damaged the capacitors on the PCB or the noise filter. This is why the “Hard Reset” (Step 1 in the Fix Guide) is the first recommended action after a storm.