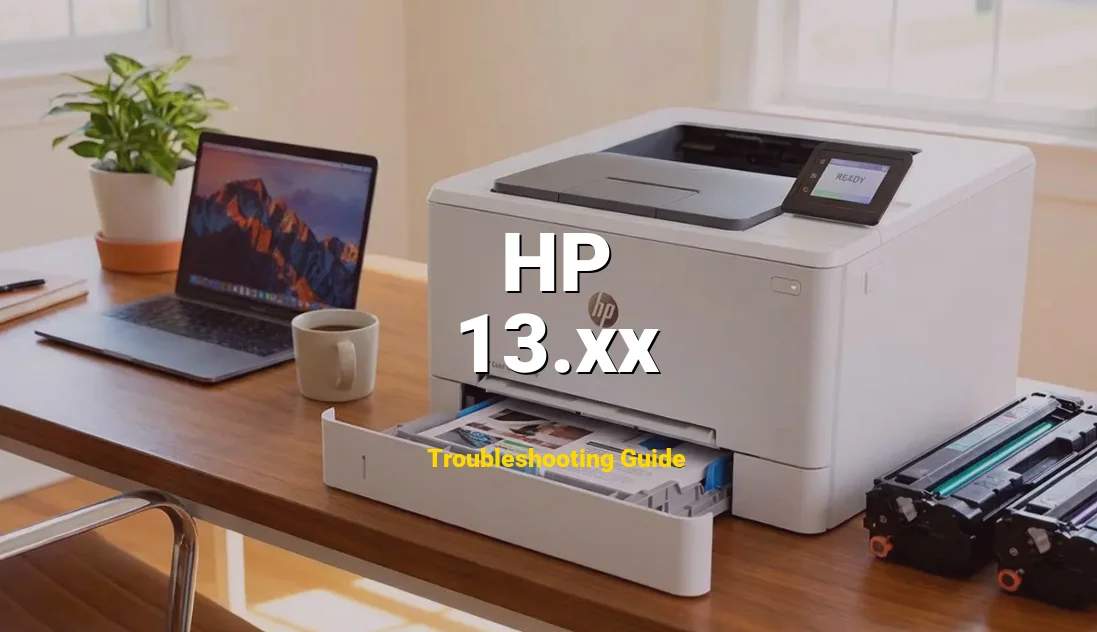
When this happens, you aren’t just looking at a static screen; you’re dealing with a machine that’s “running cold” on output. You’ll likely hear the frantic, rhythmic thumping of rollers trying to grip paper that won’t budge, or perhaps a sharp grinding noise as gears slip. The printer might simply go silent, leaving you with a blinking amber light and a half-finished job stuck in its “gut.” Don’t let the blinking lights intimidate you—this is a mechanical puzzle, and we’re going to solve it.
🛠️ Service Specs: Error 13.xx
- Difficulty: Moderate (Requires patience and steady hands)
- Estimated Time: 15 to 45 minutes
- Tools Needed: Phillips #2 Screwdriver, Long-nose Pliers, Can of compressed air, 90% Isopropyl Alcohol & lint-free cloth.
- Estimated Cost: $0 (Cleaning) to $50 (Replacement Roller/Maintenance Kit)
Symptoms
In my thirty years under the hood of these machines, the 13.xx error usually announces itself with more than just a code. You’ll notice the control panel display flashing a specific sequence, such as 13.01 (Paper feed jam) or 13.20 (Rear door jam). Physically, you might hear the rollers spinning fruitlessly—a sound like a car tire spinning in deep mud—followed by the unit shutting off its heating element to prevent damage. If you open the access doors, you might see “accordion-style” paper crinkled inside the fuser, or worse, the printer might report a jam when you can’t see a single scrap of paper anywhere in the path. This “phantom jam” is a classic symptom of a stuck sensor flag.
⚡ Important: Official Documentation
Incorrect repairs can cause fire or injury. Always verify with the manufacturer’s manual.
Why is my HP showing Error 13.xx?
I’ve seen thousands of these, and it usually boils down to three primary mechanical failures. It’s rarely a “software glitch”—it’s almost always a physical reality inside the chassis.
- Worn Pickup Rollers (Bald Tires): This is the #1 cause. Just like the tires on your truck, the rubber rollers that pull paper from the tray have a “tread.” Over time, paper dust polishes that rubber until it’s as smooth as glass. If the roller can’t grip the paper, the paper doesn’t reach the registration sensor on time, and the logic board throws a 13.xx code because it thinks the path is blocked.
- Sensor Flag Obstruction: Inside the printer are tiny plastic “flags” that paper pushes over as it passes. These flags break an infrared beam to tell the computer where the paper is. If a tiny scrap of paper from a previous jam is wedged under a flag, or if the return spring on the flag has snapped, the printer thinks there is paper stuck in the path even if it’s empty.
- Solenoid Failure (Sticky Valves): This is deep-level mechanics. Many LaserJets use solenoids to engage the rollers. These solenoids have small felt pads to dampen noise. Over years of heat, that felt turns into a sticky adhesive. The solenoid gets “stuck” in the open position, causing the rollers to feed multiple sheets or feed them at the wrong interval, triggering a timing error.
- Media Quality (Bad Fuel): If you’re using damp paper or heavy cardstock that the printer isn’t rated for, the fuser can’t pull it through at the correct speed. Humidity causes paper to “stick” together, leading to double-feeds that jam the narrowest parts of the machine.
Troubleshooting & Replacement Instructions
- Power Down and Cool Off:
Before you stick your hands in there, shut the power off and pull the plug. Safety Warning: The fuser unit (the part near the exit) operates at temperatures upwards of 400°F. If you just finished a big print job, let the machine sit for at least 20 minutes. Don’t go poking around a hot fuser with plastic tools or bare skin unless you want a trip to the ER.
- Clear the Path (The “Double-Hand” Pull):
Open all access doors—front, rear, and the toner cavity. If you see jammed paper, grab it with both hands at the corners. Never yank it from one side, or you’ll tear it, leaving a “phantom scrap” that’s impossible to reach. Pull slowly and steadily in the direction of the paper path. If the paper is stuck in the fuser, look for the green pressure-release levers to slacken the grip before pulling.
- Inspect the Sensor Flags:
Grab your flashlight. Look for the small black plastic fingers sticking up in the paper path (usually near the registration assembly and the fuser). Use your screwdriver or a pair of pliers to gently flick them. They should move freely and “snap” back into place. If one stays down, you’ve found your jam. Clear any debris around the base of the flag with compressed air.
- Recondition or Replace the Rollers:
Pull out the paper tray and look up into the “roof” of the tray cavity. You’ll see the pickup roller. If it looks shiny or grey, it’s “bald.” Clean it with a lint-free cloth dipped in Isopropyl Alcohol to restore the tackiness. For a permanent fix, use your Phillips head screwdriver to remove the retaining clips and swap in a new roller. It’s a $10 part that saves a $500 printer.
- The “Secret” Rear Door Check:
Many folks forget the rear exit path. Open the rear door and check the “face-up” delivery rollers. If there’s even a sliver of paper stuck in the exit rollers, the printer will throw a 13.xx error. Ensure the rear door sensors are making contact when the door is closed; sometimes a cracked plastic hinge on the door prevents the sensor from engaging.
How to Prevent Error 13.xx
Maintaining a LaserJet is just like maintaining a diesel engine—cleanliness is next to godliness. Follow these two rules to keep the 13.xx errors at bay:
- The “Blow Out” Ritual: Every time you change a toner cartridge, take the machine outside or to a well-ventilated area and hit the internal cavity with compressed air. Paper dust is abrasive; it acts like sandpaper on your rollers and sensors. Removing it extends the life of your mechanical parts by years.
- Load Paper Properly: Never “top off” a tray while the printer is running. Always remove the remaining paper, fan the new stack to break the static bond, and ensure the side guides are snug but not tight. Tight guides cause the paper to “bow,” which is a leading cause of 13.01 feed jams.
- Environmental Shielding: If your office is humid, your paper is absorbing moisture. This makes it heavy and “limp,” which causes it to wrap around the fuser rollers. Use a surge protector to ensure the heating element gets consistent voltage to dry the toner properly.
FAQ
FAQ
Q: My printer says “Jam” but there is absolutely no paper inside. What gives?
A: This is almost certainly a “stuck flag.” A tiny fragment of paper, often no larger than a fingernail, is holding a sensor flag in the “engaged” position. Use a can of compressed air to blow out the sensor areas, or run a stiff piece of cardstock manually through the path (with the power off) to “plow” out any hidden debris.
Q: Can I use WD-40 on the gears to stop the grinding noise?
A: Absolutely not. Petroleum-based lubricants will melt the plastic gears and attract paper dust, creating a “sludge” that will seize the motor. These machines are designed to run dry or with high-temp silicone grease only. If it’s grinding, it’s a timing issue or a worn gear, not a lubrication issue.
Q: Is Error 13.xx always the printer’s fault?
A: Not always. Cheap, “bargain-bin” paper often has irregular edges or excessive dust that triggers sensors prematurely. If you’re getting constant 13.xx errors, try a fresh ream of high-quality 20lb or 24lb laser paper. It makes a world of difference.